Thanks for stopping by to check out another project. ;-)
We have been running in circles trying to figure out what to do with a bare wall we had in our lounge area entering the second floor of our home. This area currently has a cool faux leather chair (found @ dumpster) and a coffee table that was gifted to us by my mom. Here is the room before our project:


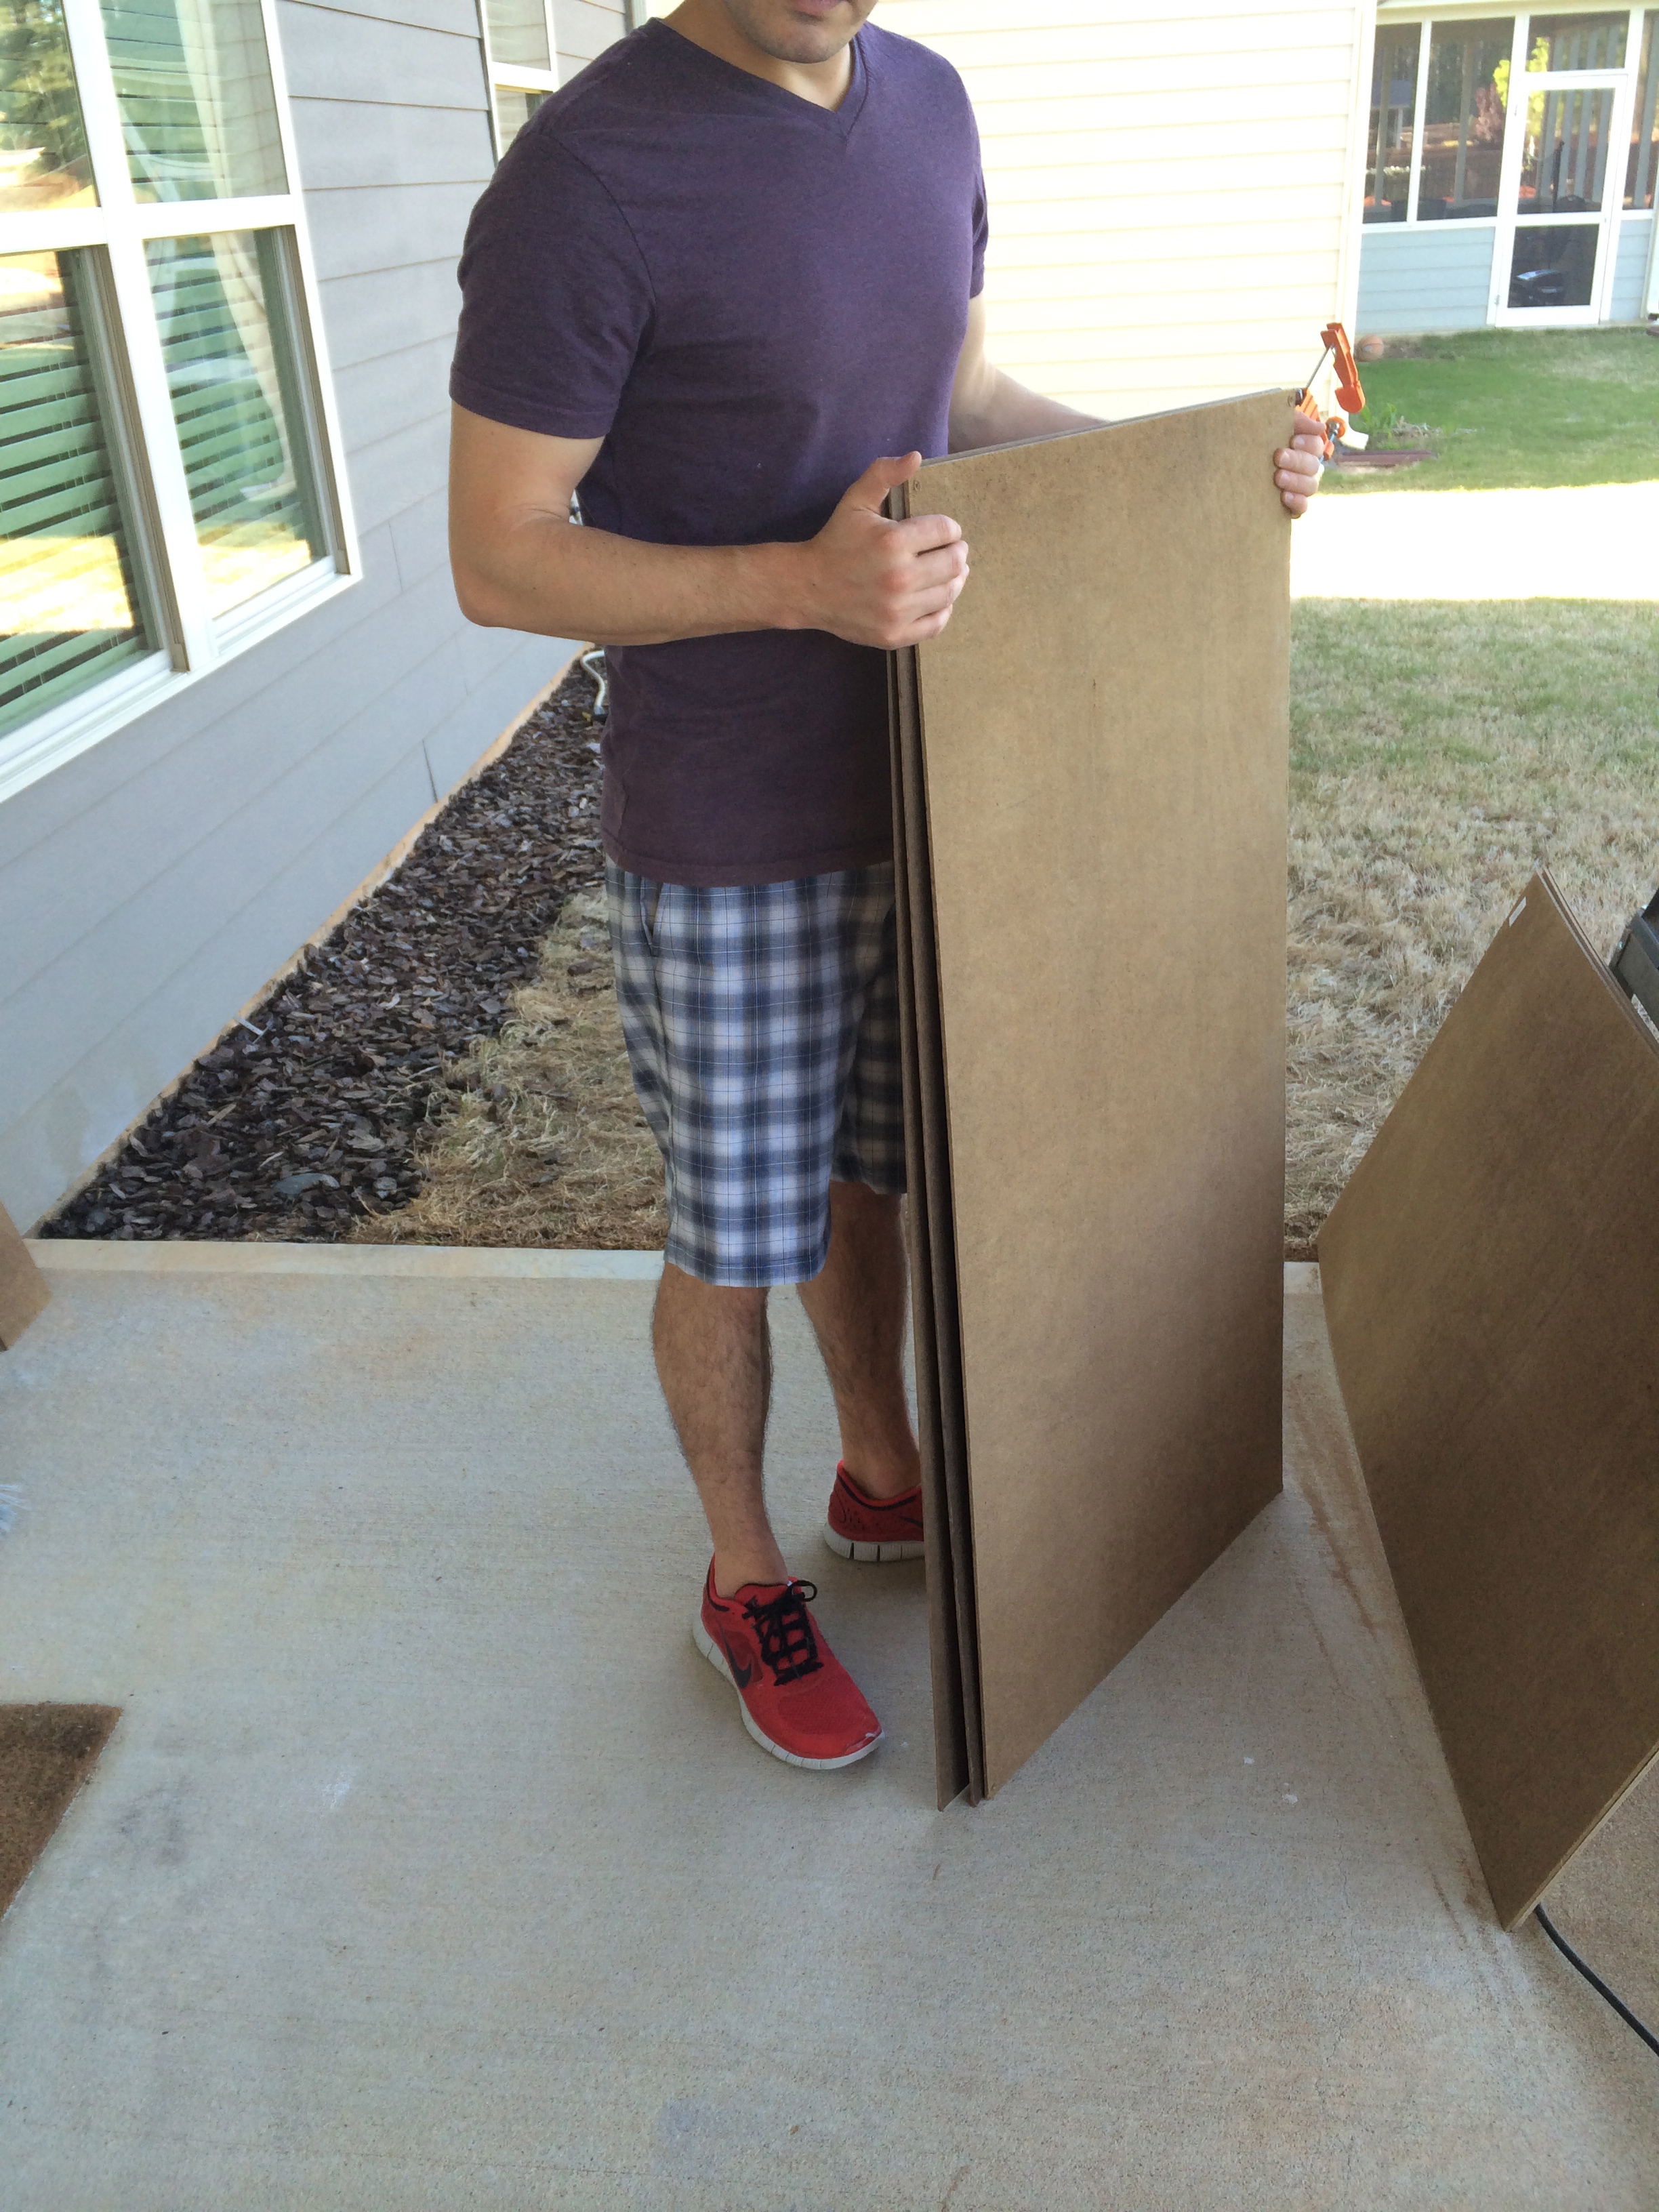
We wanted this area to have a distinguished accent wall color, wallpaper, or just a 'textured' wall covering of some type to create a cool, modern 'lounge' area similar to a tapas bar or upscale office building. About a year ago Sheena purchased several pieces of 'hardboard' or 'masonite' at our local home improvement store for Dustin's office, assuming that it was cork board. Once we got it inside, we realized that it was not what we expected, and tucked the pieces away in a closet to hopefully use again one day. Here is what the hardboard looks like without any alterations and/or cuts:

This became a possible contender for our wall because one side is a smooth cork board look, and the opposite side is almost like a weaved patten. We went back to the store and grabbed about 2 extra pieces that were a darker shade, to create a bit more contrast. Dustin laid them on the table saw and cut them down to 6in in length and kept the width that it was from the store. We ended with a stack of them that looked like tiling or hardwood planks:

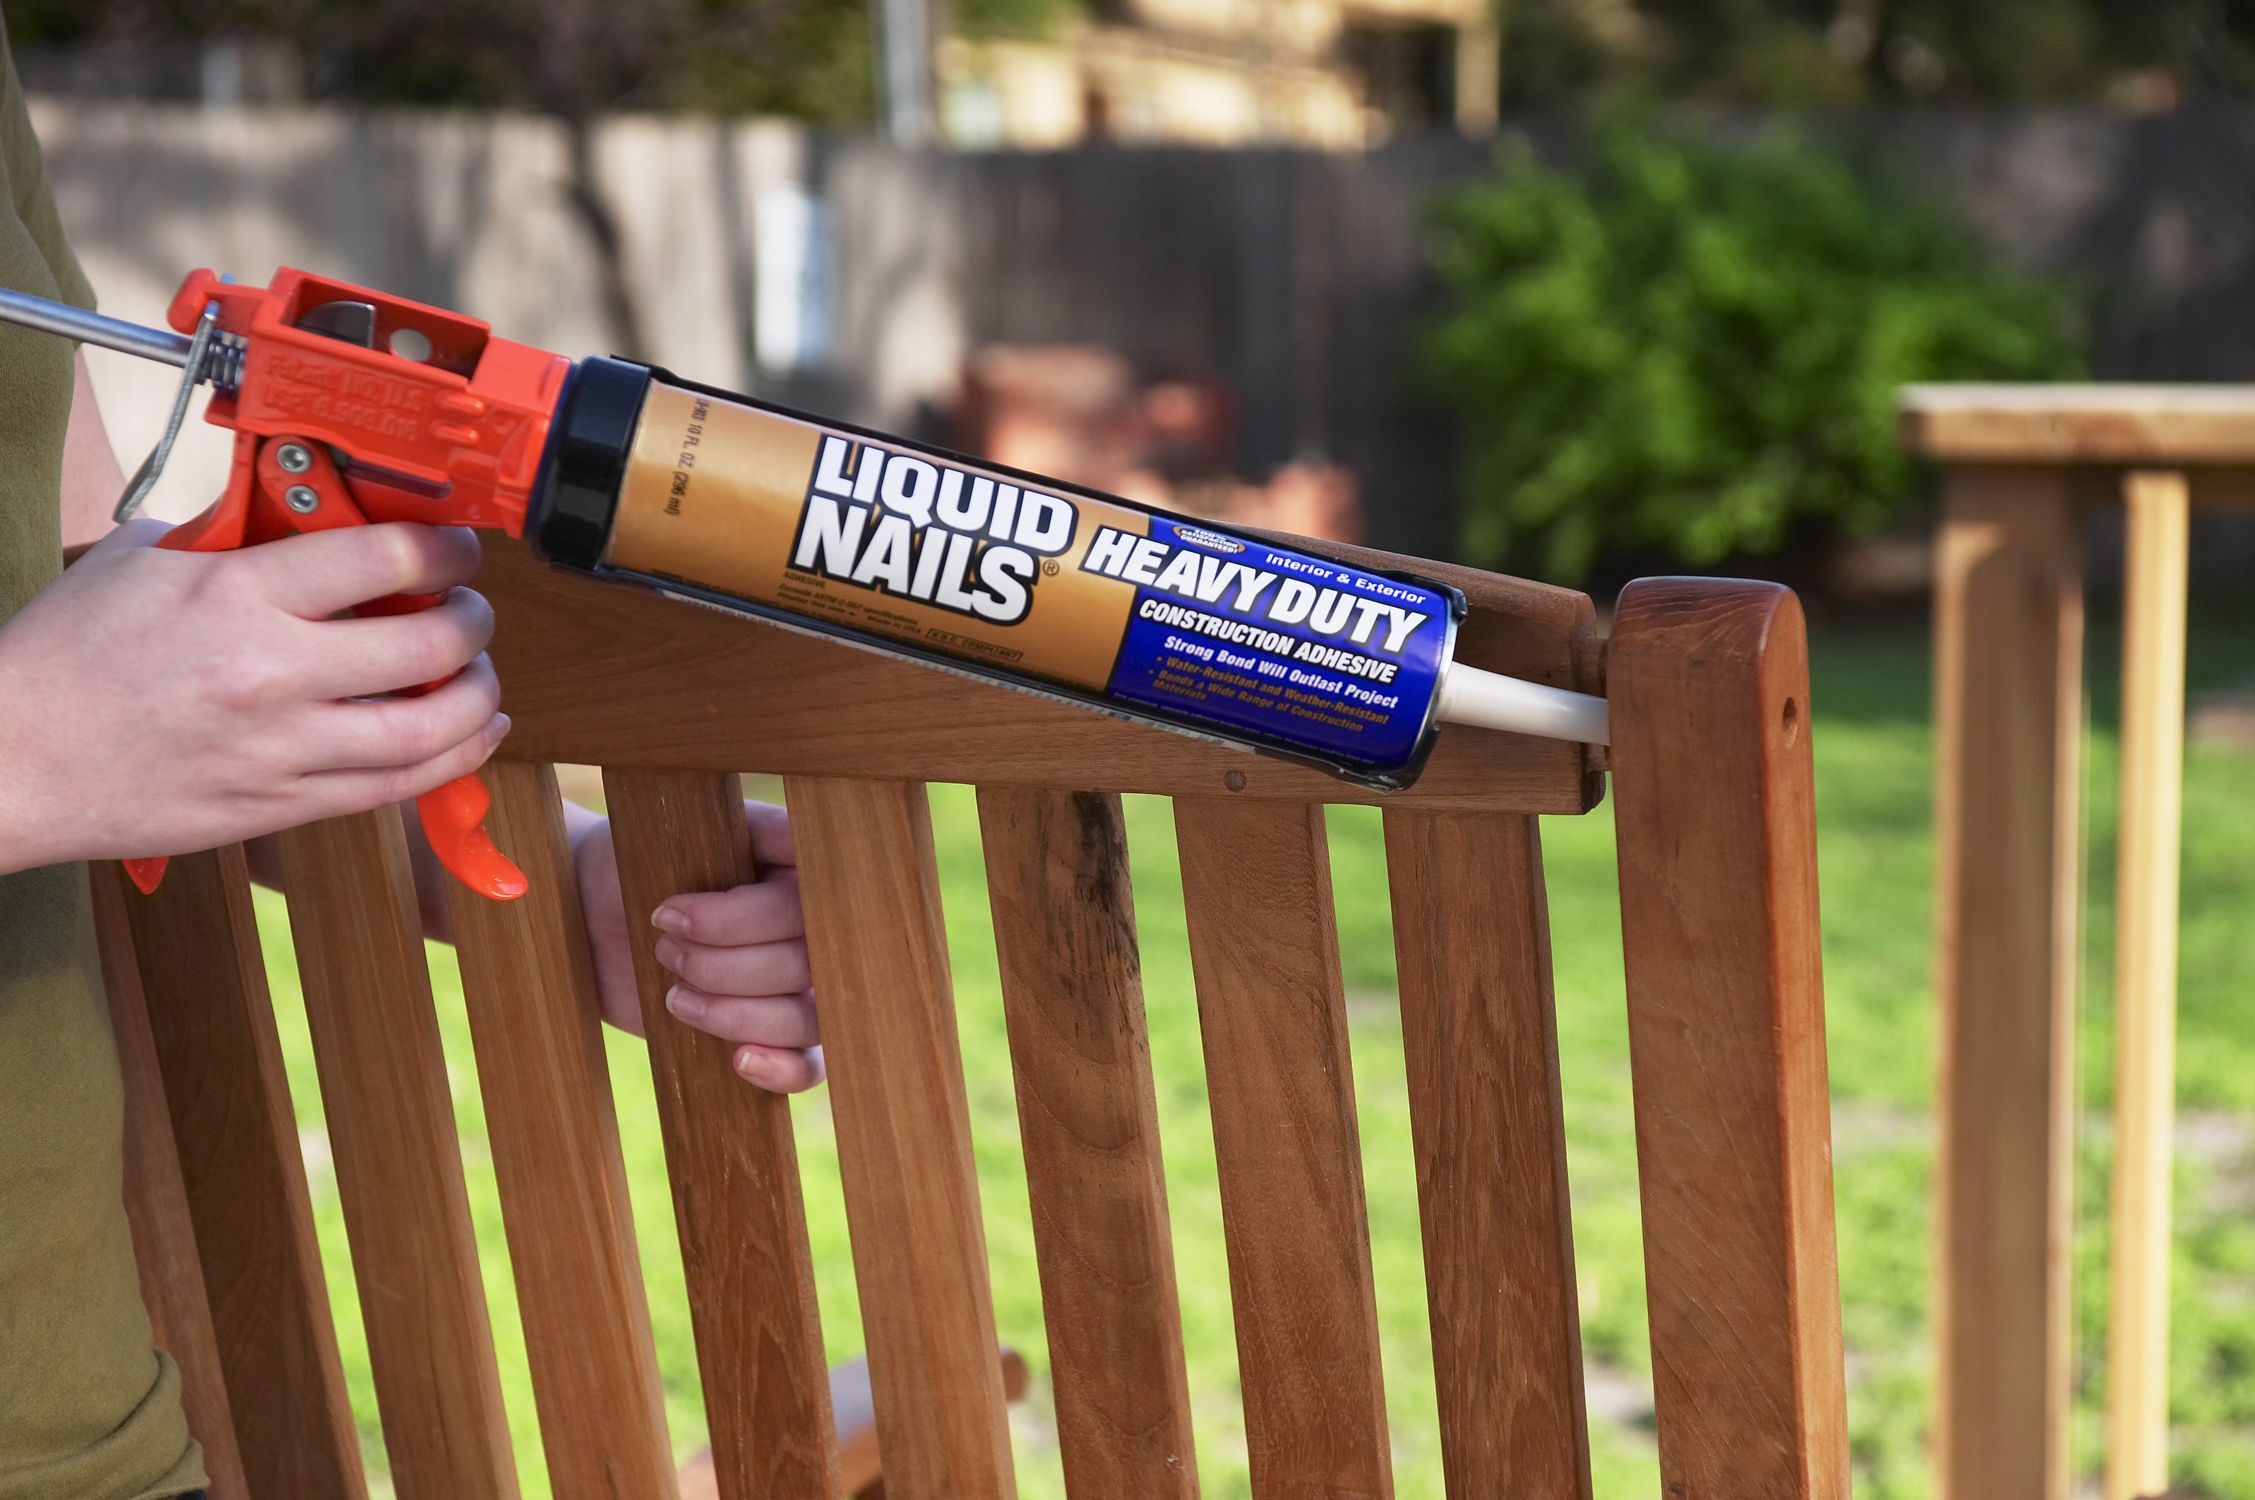
We decided to lay them like subway tiles or bricks, with no perfect pattern or repetition. We used 'liquid nails' that comes in the form of a tube, and you would need a caulk gun to force the product out:
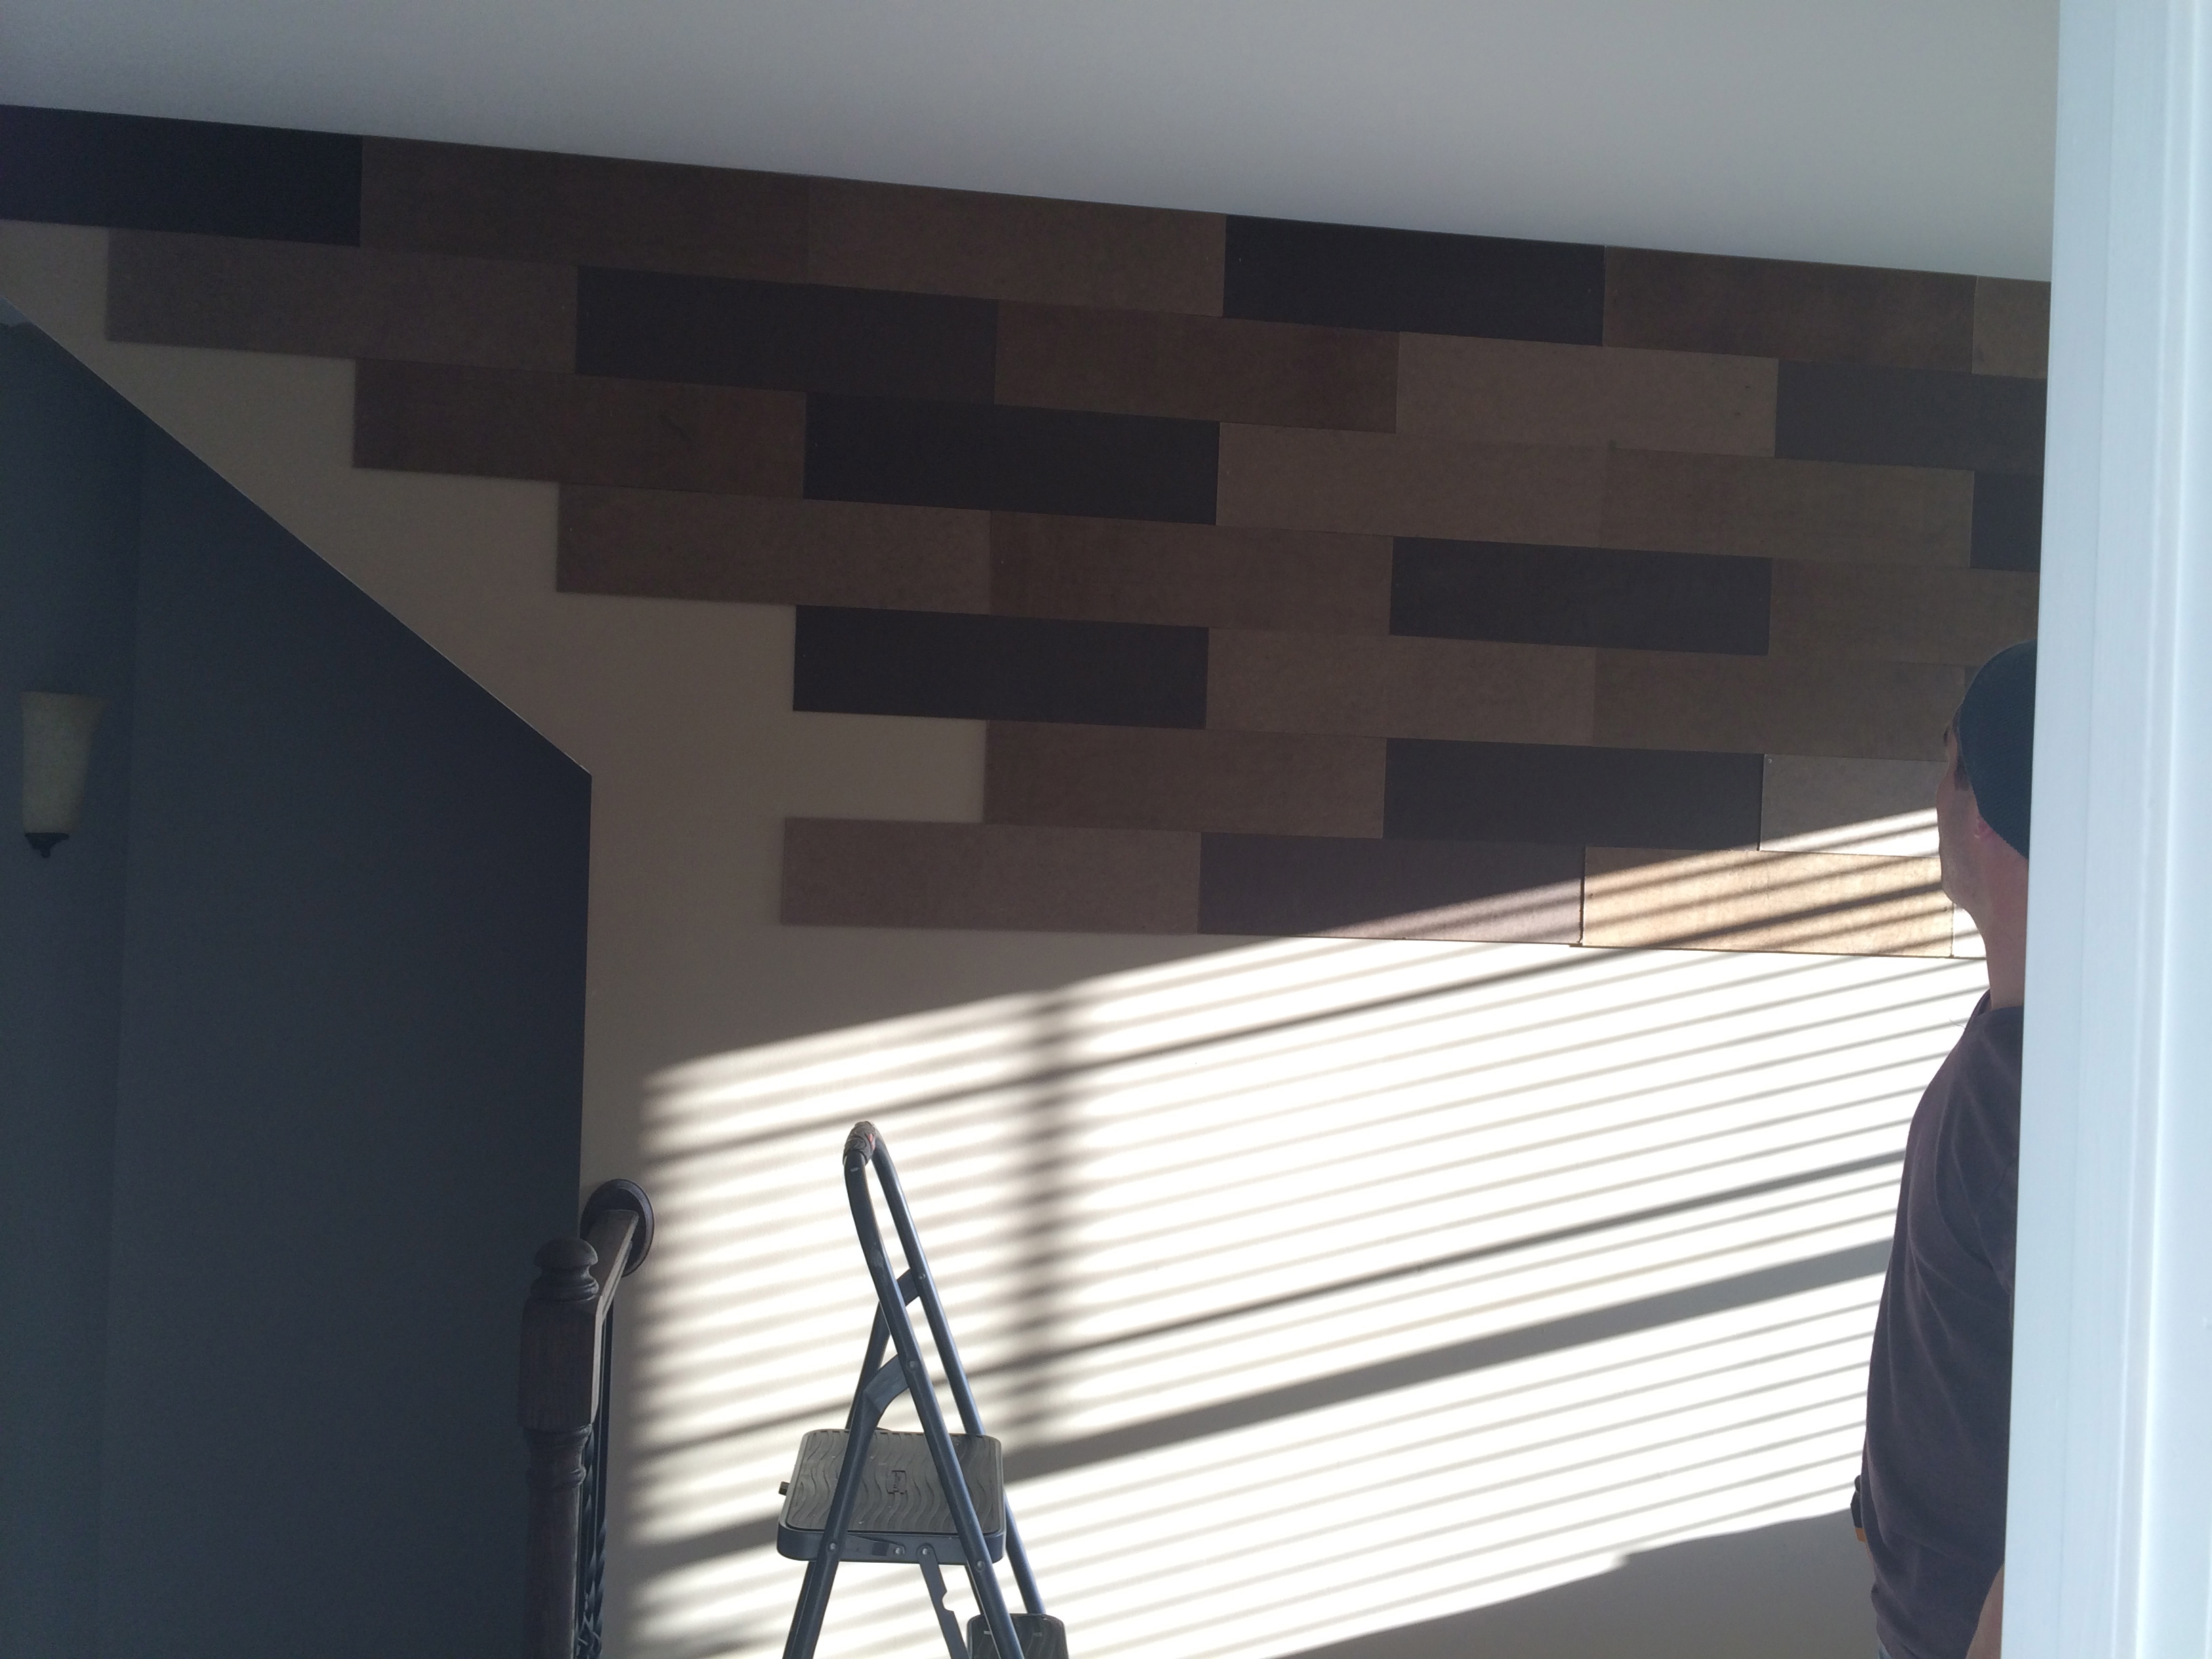
We followed up with two 1" staples in each plank, using a compressor/nail gun to apply additional re-enforcement. Can't have panels falling off of the wall during parties! (haha) So once those pieces were cut, we started working from the top left of the wall, and moving forward in a 'reading' style. (left to right, next row down, left to right)

We seriously took several hours to complete this only because we would stop after every row, and just stare at the wall, like "awesomeee, riiiight? ;-)" *high fives* lol.
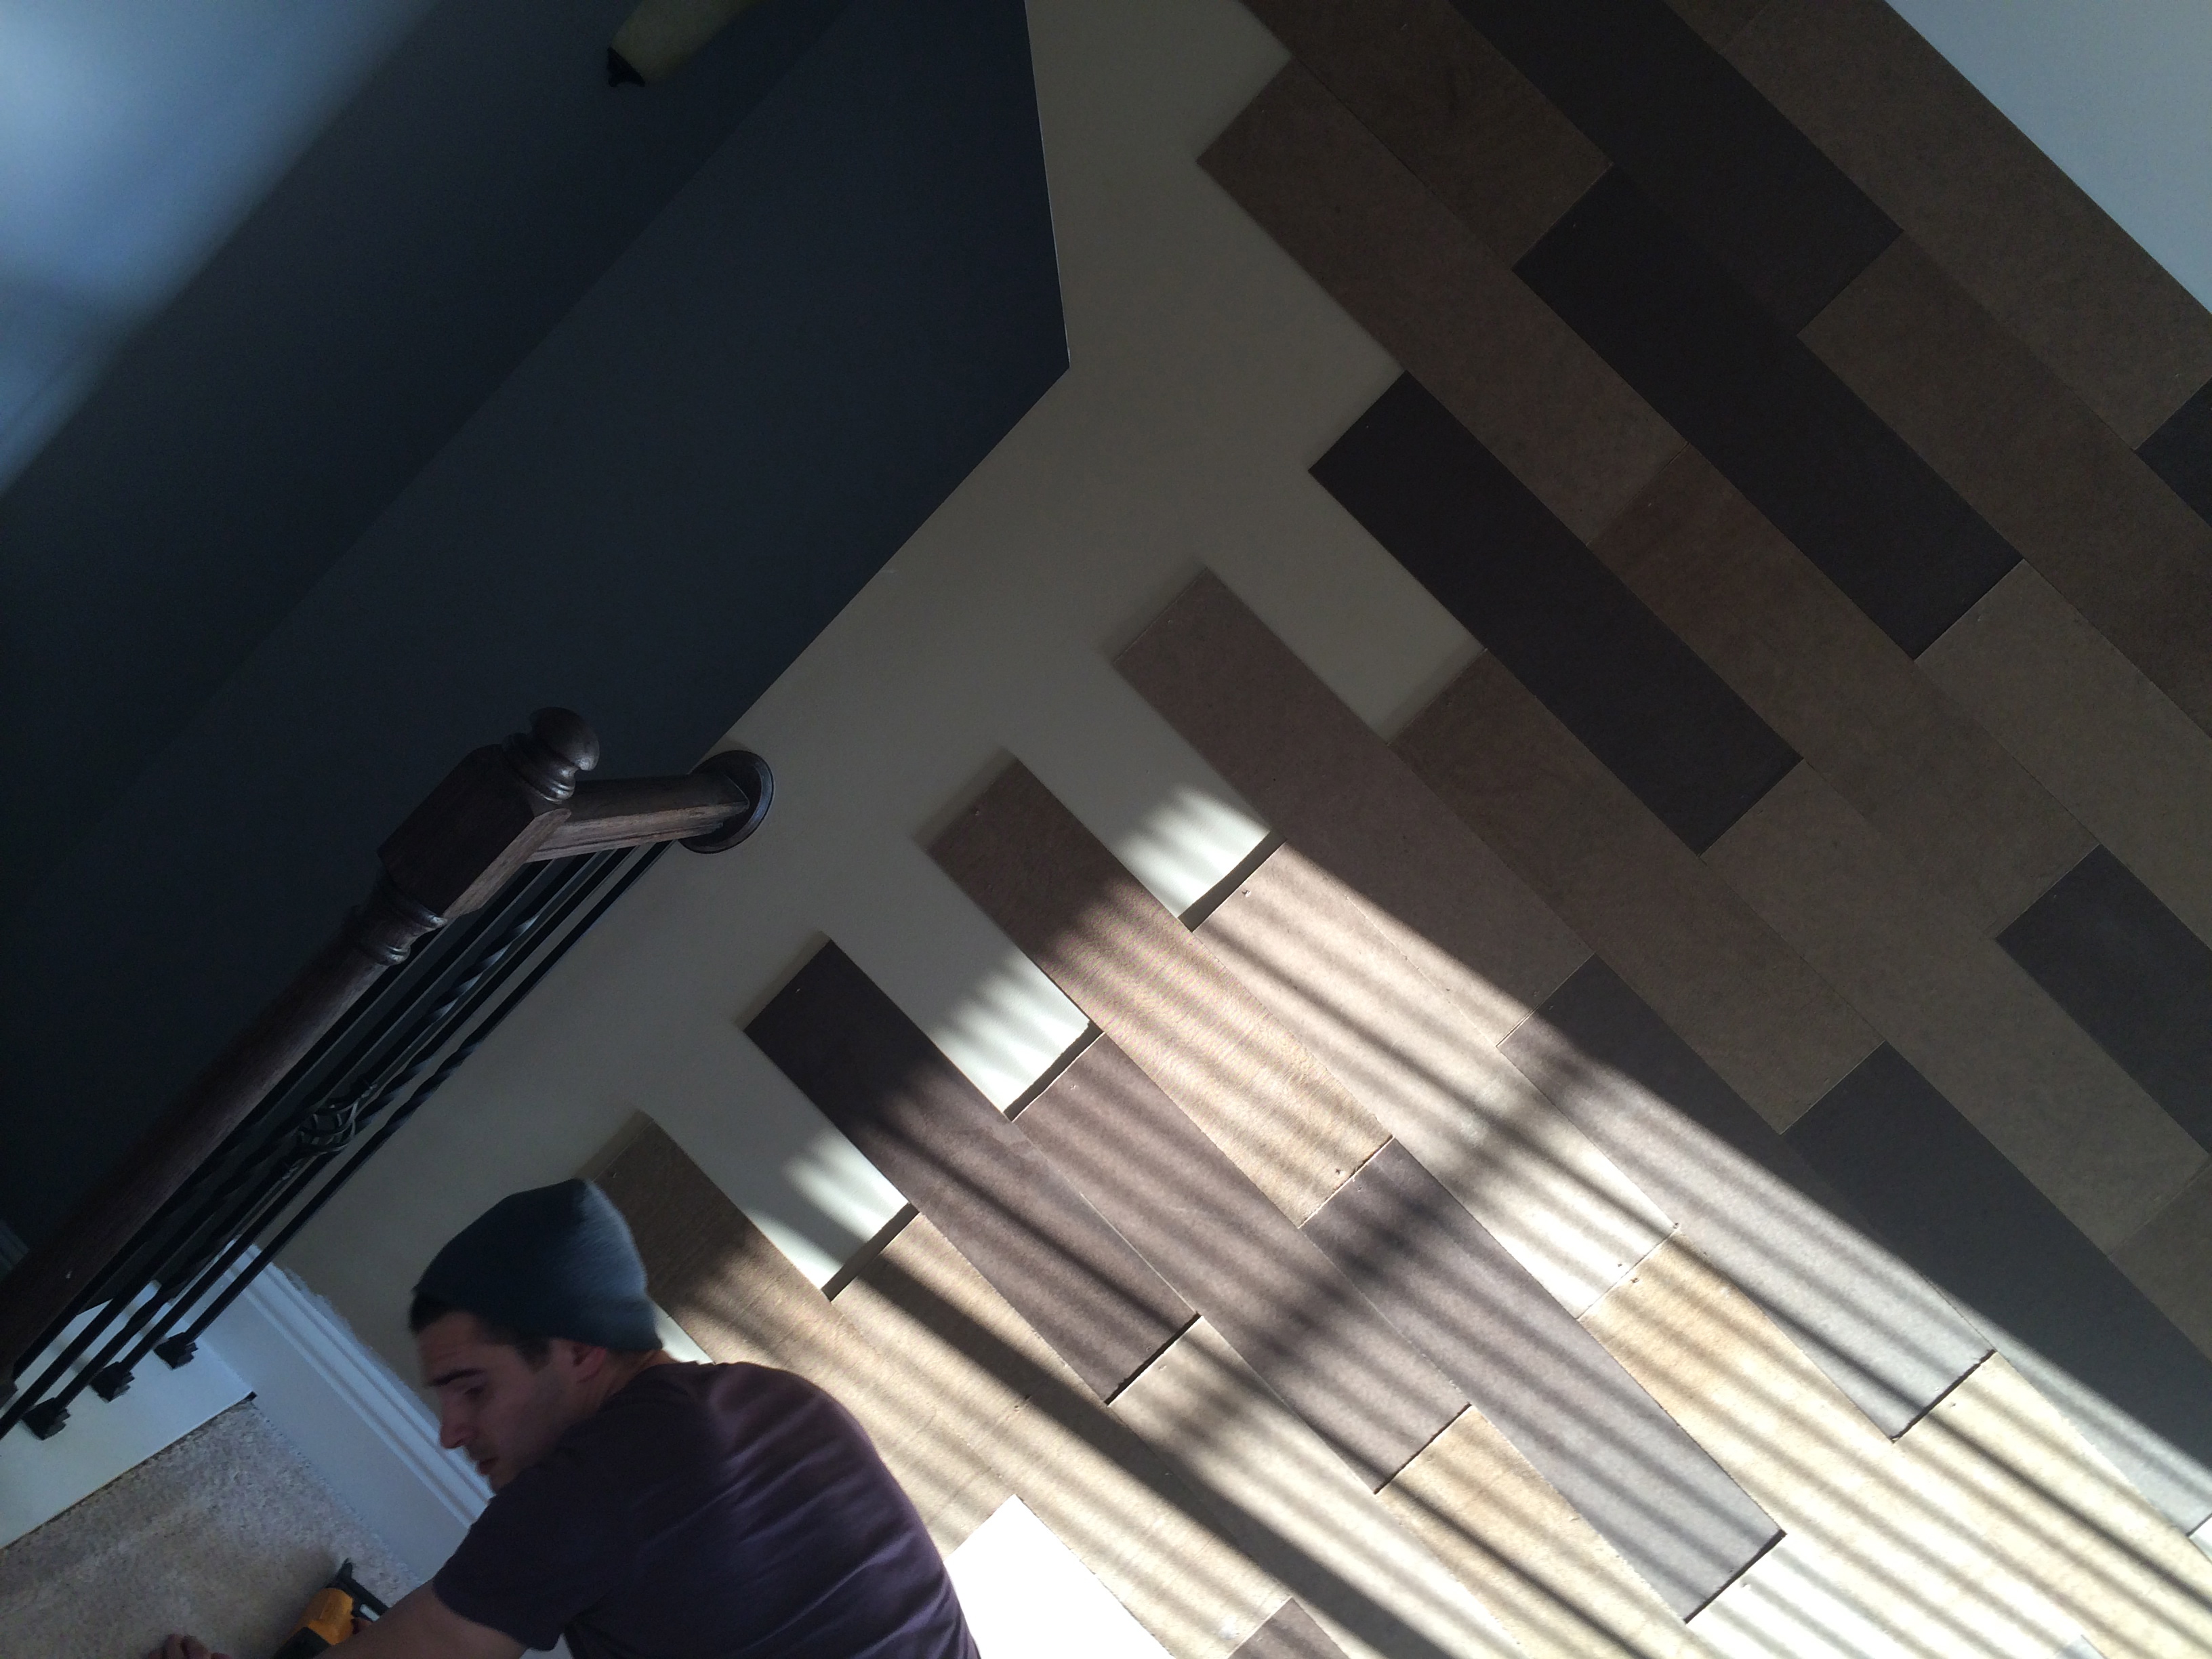
The hardest part of this project was getting the hardboard planks right against the banister seen above. We didn't want any of the wall showing, and we wanted the wall covering to look as 'organic' as possible, as if the wall was just that way already. We were able to achieve most of it with a dremmel, but it took forever and kept overheating, so we had to call it a night, and head out the next morning to get a jigsaw. And boy, did we get it for a STEAL!

Dustin, putting the final touches on the cut-out for the banister with the dremmel, after doing the major cuts with the jigsaw:


After a few more staples and filling in the final pieces, here is our completed lounge, accent wall!


Can you tell we're pretty in love with it? ;-) Thanks so much for checking out our project, and if you guys try something similar, definitely let us know! We'd love it to see your creation(s)! Until next time, peeeeeace.

Love in the details,
Spokenhome.
Video available at https://www.youtube.com/watch?v=vX31CG2QYHw