
DIY Silhouette Wall Art

We came up with this new idea for wall art in our tiny NYC apartment as we began creating our family feature wall in the kitchen! For under $25, we were able to create something truly unique & personalized & hope you love it as much as we do!
Materials:
Thick-stock paper (28lb or higher)
Pattered paper for background
Artist's Loft Canvas (Can substitute with anything sturdy that will fit within frame)
Picture Frames
Chalk Paint (Optional, but will need some black paint in it's place)
Hot Glue
Mod Podge
Scissors
Materials:
Thick-stock paper (28lb or higher)
Pattered paper for background
Artist's Loft Canvas (Can substitute with anything sturdy that will fit within frame)
Picture Frames
Chalk Paint (Optional, but will need some black paint in it's place)
Hot Glue
Mod Podge
Scissors
Step 1: Take a photo of each family member from the side profile & import each into the computer. Print the pictures on thick-stock paper, & carefully cut out the silhouettes. It may take a few tries to get the size & cutting correct, but you'll get it!

Step 2: Use chalk colored paint to paint the silhouette that you've just cut out. It may take a couple of coats, but allow to dry between each coat. You can also wait until after step 4 to paint it!

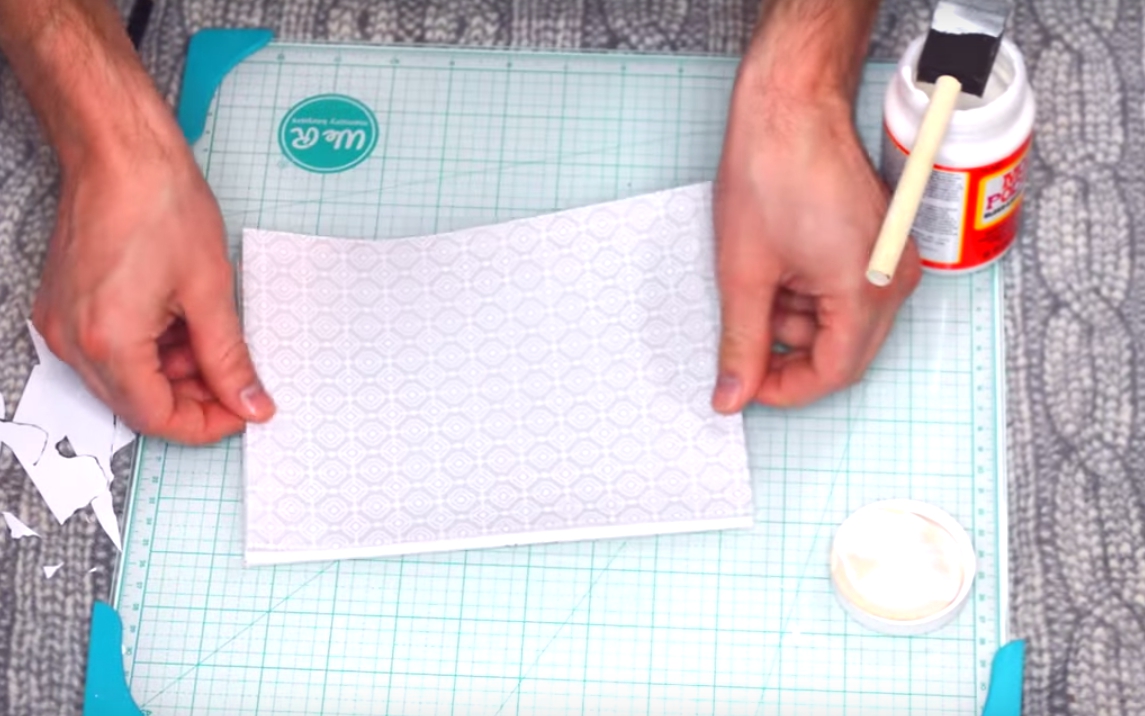
Step 3: While the silhouettes dry, use your Artist's Loft Canvas to trace your cut for the background. You may want to allow an additional 1/2" on each side if you prefer to wrap the edges, but is not necessary (especially with thicker paper). Use Mod Podge to glue them together & allow dry. Once dry, apply Mod Podge with foam brush from one side to the other, keeping texture consistent. This will give the background a shiny coating that repels chalk that will be used to write on the silhouette.

Step 4: Carefully use Mod Podge to coat the back of your silhouette, and apply to the front of the Artist's Loft you just completed. Be sure to work from one side to the other slowly, and avoid bubbles by catching them early. Allow to dry.

Step 5: Apply touch ups. With the picture frames, reverse the original stock photo so that the white side shows. Close up the frame. Next you'll need to heat up the glue gun, & apply a few drops to the back of the finished silhouette & carefully center and apply to the FRONT of the photo frame. Nothing except the backing should be inside the picture frame.

You're finished, now just hang and enjoy! We love to use them to write notes to one another, or to-do lists. Hope you enjoy!


Step 3: While the silhouettes dry, use your Artist's Loft Canvas to trace your cut for the background. You may want to allow an additional 1/2" on each side if you prefer to wrap the edges, but is not necessary (especially with thicker paper). Use Mod Podge to glue them together & allow dry. Once dry, apply Mod Podge with foam brush from one side to the other, keeping texture consistent. This will give the background a shiny coating that repels chalk that will be used to write on the silhouette.
Step 4: Carefully use Mod Podge to coat the back of your silhouette, and apply to the front of the Artist's Loft you just completed. Be sure to work from one side to the other slowly, and avoid bubbles by catching them early. Allow to dry.

Step 5: Apply touch ups. With the picture frames, reverse the original stock photo so that the white side shows. Close up the frame. Next you'll need to heat up the glue gun, & apply a few drops to the back of the finished silhouette & carefully center and apply to the FRONT of the photo frame. Nothing except the backing should be inside the picture frame.

You're finished, now just hang and enjoy! We love to use them to write notes to one another, or to-do lists. Hope you enjoy!
Did you know that you can shorten your long links with OUO and get money for every click on your shortened links.
ReplyDelete