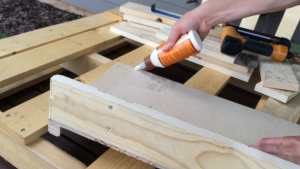
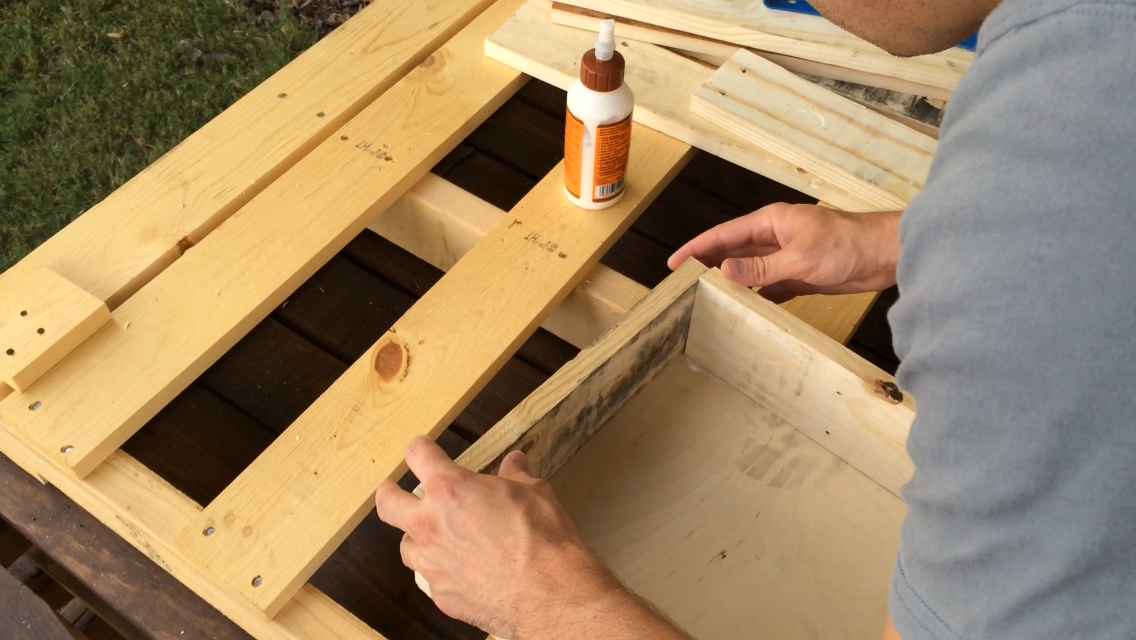
Several of our YouTube subscribers asked for a video with tips for getting out of debt so we thought we would share some of the ideas we have come across! In a debt-driven society, it can be tempting to pull out the plastic once in a while for wants & needs. Still, certain behaviors will help you gain financial independence and achieve a debt-free life. Where there's will, there's a way! First, we wanted to celebrate the fact that Sheena's first car is now paid off! Financing a car is a serious pain, and unfortunately a terrible "investment," but a necessary evil where we were in our lives when it was purchased. Word to the wise, get a loan through a credit union in your area (MUCH LOWER RATES!) We're looking forward to that extra money coming in every month that we can put into other debts to continue the "Snowball"!

This brings us to Dave Ramsey (if you haven't heard of him, he's got a great youtube channel & website!). Sometimes the truth hurts, and he's not afraid to shoot you straight. Those who practice what he preaches usually find themselves debt free in much less time than they ever thought possible. One of his tips is to use the "envelope system" which we touch on in the video as a great way to help stay on track.
ADMIT THERE IS A PROBLEM THAT YOU WANT TO FIX
Our first suggestion may be obvious, but honesty with both yourself & your partner is crucial if you want to have a healthy financial life. A great tip that has helped us was to put together a spreadsheet with all of our bills, debt, obligations, and income together (EVERYTHING!) Bills, credit card debt, loans, car payments, rent/mortgage, etc are put together in one place with due dates, and links to the website to pay. It's a great way to stay on the same page with your partner, and helps prevent from accidentally spending money that should have gone towards bills and debt! Obviously, utilities, food, & rent/mortgage take priority over all debts, so pay them first. PUT TOGETHER A MONTHLY BUDGET! We included some tips on the envelope system too. We don't use this method, but if you're having trouble figuring out & sticking to a budget, it's a great one!
ARRANGE DEBTS IN ORDER FROM SMALLEST TO HIGHEST

Once you've taken care of all of your bills for the month, arrange them from smallest to largest. Now is the time to develop a payoff game plan! While we're stating the obvious, if you've truly made up your mind to get out of debt (specifically credit cards), STOP using them now! Continue to pay minimums on larger debts each month, but focus the bulk of payments towards the smallest balance debt. This is called...
SNOWBALLING!
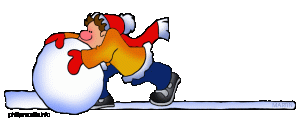
Once they're out of use and all of your basic necessities are budgeted for, allocate the leftovers to begin paying down some balances! Take your lowest balance and apply as much to that card as possible each month. When it is completely paid off, keep going to the next card with the smallest balance. Continue to apply leftover money each month to its balance... and before you know it, you'll have paid off 2... continue the trend for as long as it takes! As you progress, you will begin to see things picking up pace. The next step is extremely important to ensure you stay motivated...
CELEBRATE THE WINS!

Don't forget to celebrate the wins when you can. After all, life is short & we all need to have fun from time to time. We personally haven't gone to the rice & beans diet yet ;) but even if you want to pay things off extremely quickly, always remember to celebrate life's moments and your achievements! The key is to always budget some time and money for some of life's little joys! For instance, splurge on a nice home cooked meal (Dustin loves to grill fillets :) Be creative while saving some money!
Hope these tips have been helpful, please share some of your best practices for budgets & debt reduction with us! There's so many ways to minimize debt, we would love to hear what works best for you!