

There are hundreds, if not thousands of FREE ideas using pallet wood! Here is our most recent project, a portable backyard herb planter! First, we had to locate the pallets that we use, and we're very fortunate to have easy access to high-quality pallets from Dustin's job. MAKE SURE you ask permission, many companies sell these pallets back to recyclers and don't want any of you getting in trouble over some pallets! If your job doesn't have pallets, keep your eyes open the next time you're in a business park! If they look like they're being trashed, simply go inside and ask if you can have them. Another consideration is the kind of treatment the pallets have undergone during manufacturing. Stay away from chemically treated pallets, and look for the symbol that resembles a wheat plant, and the letters HT (heat-treated). These have been kiln heated to kill pests that may have lived inside the wood.
[gallery ids="223,225"]
Once you have the pallet, this project requires you remove the boards and nails. Using a crowbar and hammer is easiest, but sometimes just a hammer to the backside of the board is enough.
Since most pallets are slightly different sizes, determine what dimensions you will use to build the box. Our planks were approximately 31 inches, so we determined that approximately 20 inches x 11 inches made for the easiest box... but don't hesitate to go bigger! We just wanted to keep it fairly portable.


Next, we took a scrap piece of plywood to construct the bottom of the box. One cut was needed to make it 20x11 inches. From there, we simply glue the boards to the plywood one by one, and reinforced with 1 1/2 inch staples. You can also use screws, finishing nails, or any other small fasteners you may have.
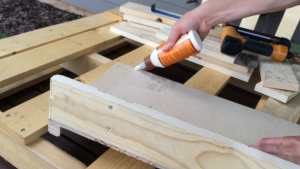
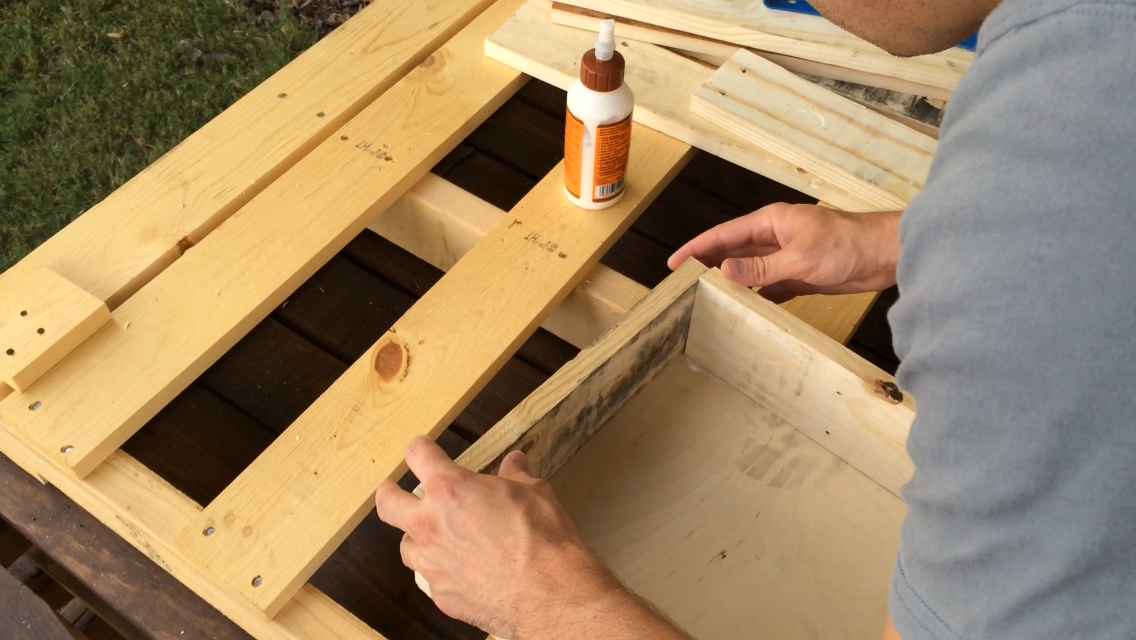
Once the box is 1 board high, we did the same for a 2nd row to give the box the height we wanted. Although not the strongest option, we toe-nailed the 1st & 2nd layers together to hold the box into place while the glue dries for simplicity's sake. Once the box is complete, flip it over and now it's time to provide some drainage so that roots do not rot when the soil is over watered. We used a 1 inch bit to allow water to drain, and air to circulate. Note, if you don't care about portability, your planter does not need a bottom! Just be sure the ground below is not compacted so that water cannot be absorbed.


Almost complete! Next, we used some landscaping rocks to provide the bottom layer of the box, making sure the holes were not visible from above. Then a layer of potting soil is applied on top of the rocks. Next, take your plants and arrange them, move the soil to drop them in. Last, add one more layer of potting soil so that the tops of the root balls are covered. Give them some water, and enjoy watching them grow!


Get creative, you can grow tons of vegetables, flowers, herbs, etc so that they're never on your shopping list again! We've noticed many grocery stores have begun selling living herbs, so you don't even need to go to the nursery. We're thinking about making several more boxes for some added greenery in the backyard, and excited about all the healthy edible plants we're going to grow this summer!

Hi there, all is going fine here and ofcourse every one is
ReplyDeletesharing data, that's really good, keep up writing.